Signing Up to BIMWorkplace
This article explains how to create a BIMWorkplace account and start using the platform.
You can sign up to create a new Workplace, activate a 30-day free trial, complete a new purchase, or join an existing Workplace through an invitation.
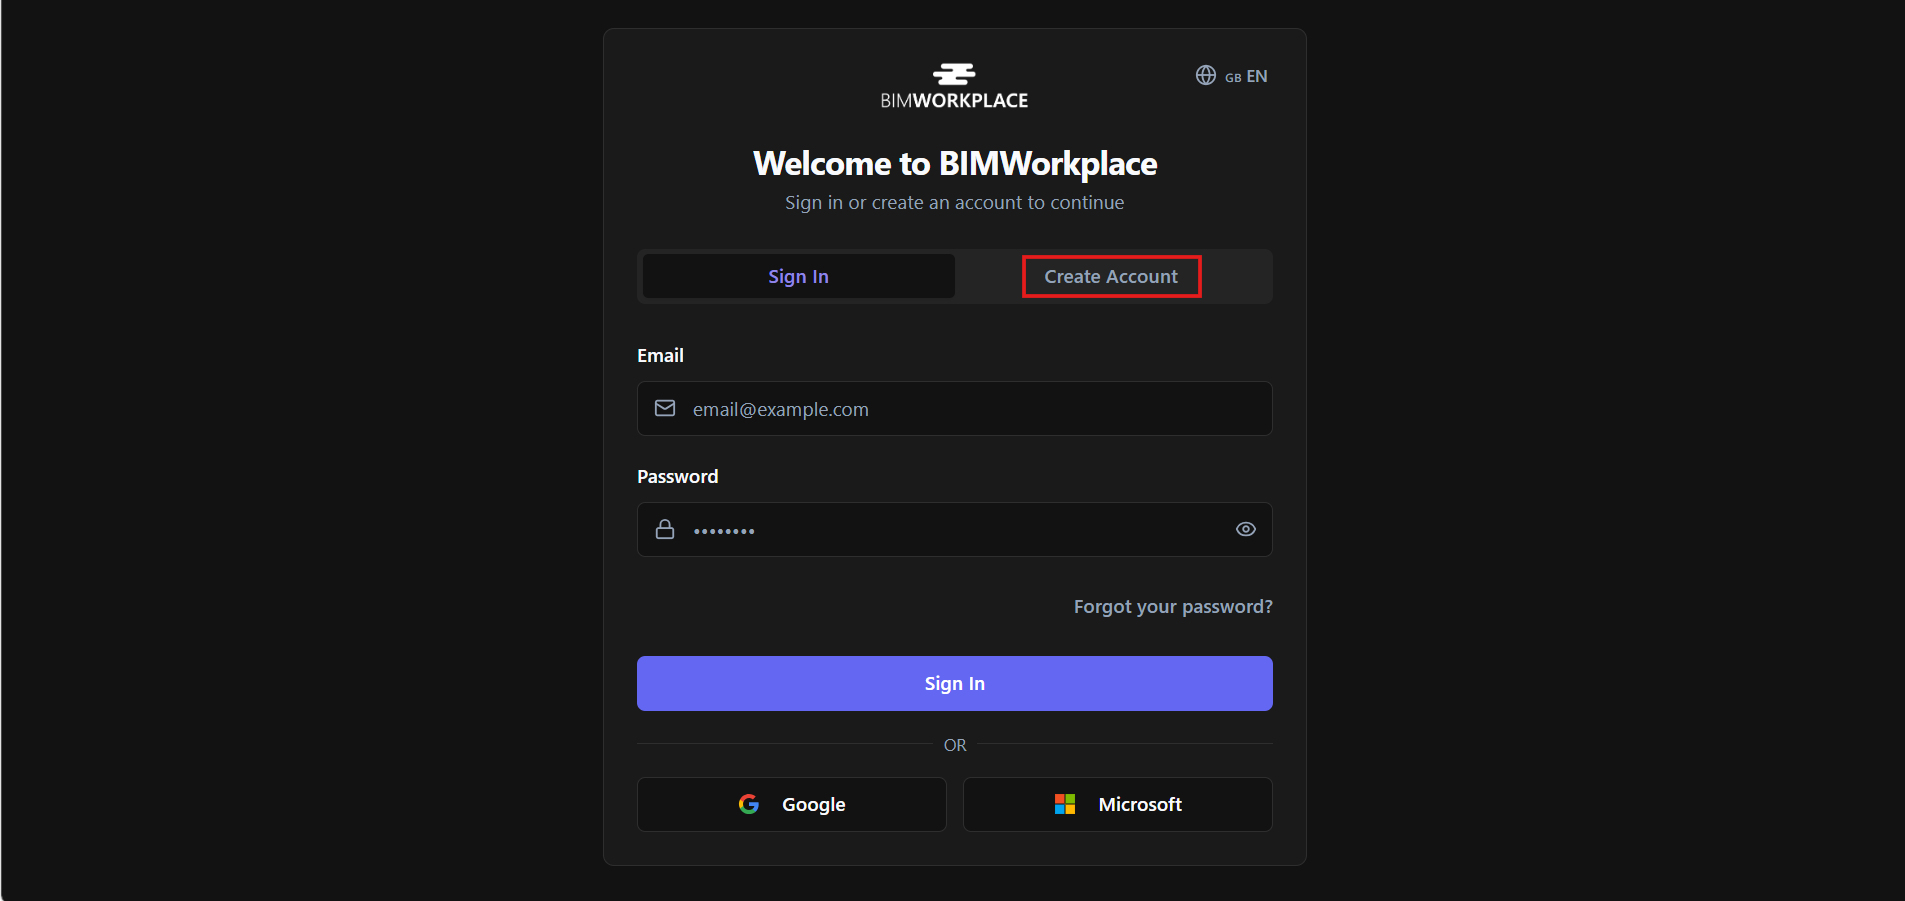
1. Visit the platform
Go to the BIMWorkplace platform and click Create Account.
2. Fill in your information
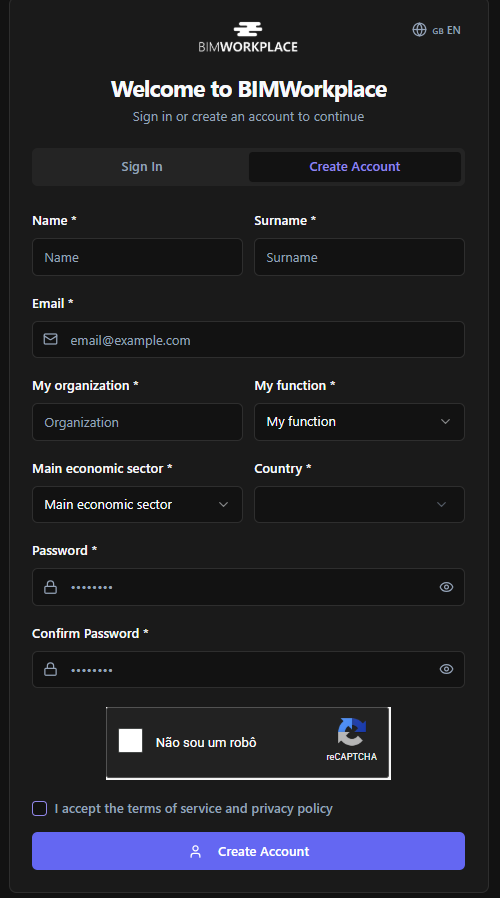
Enter the required personal information and create your password.
Your password must include at least:
· 10 characters
· 1 number
· 1 uppercase letter
· 1 special character
3. Confirm your email
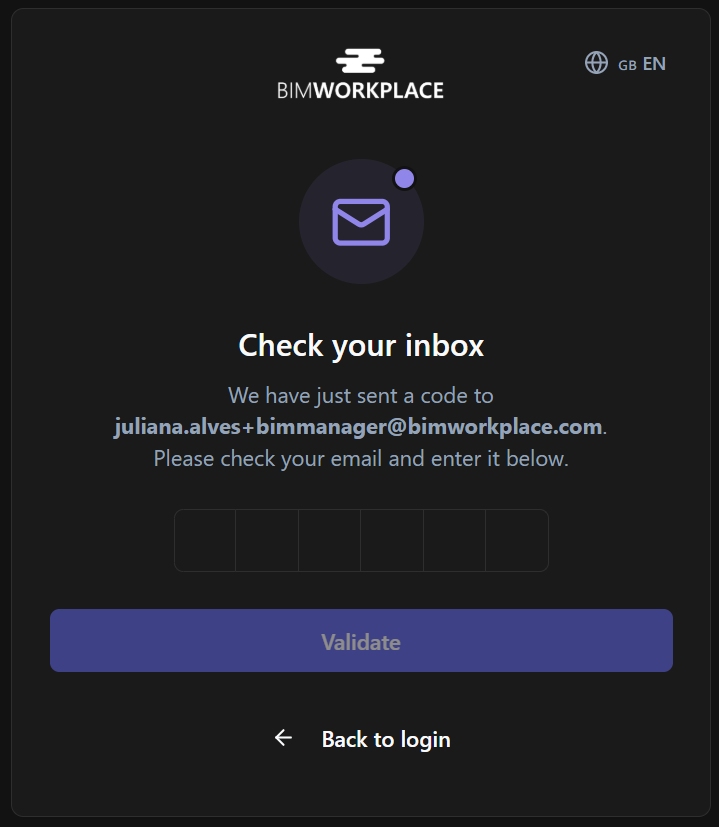
After submitting your information, BIMWorkplace sends a confirmation email to the address you provided.
Open your inbox, copy the confirmation code, and enter it in the platform to validate your new account.
Click Next to continue.
4. Create or join a Workplace
After confirming your account, BIMWorkplace checks whether your user already has access to an existing Workplace.
If you received an invitation by email, you will automatically have access to the invited Workplace after logging in.
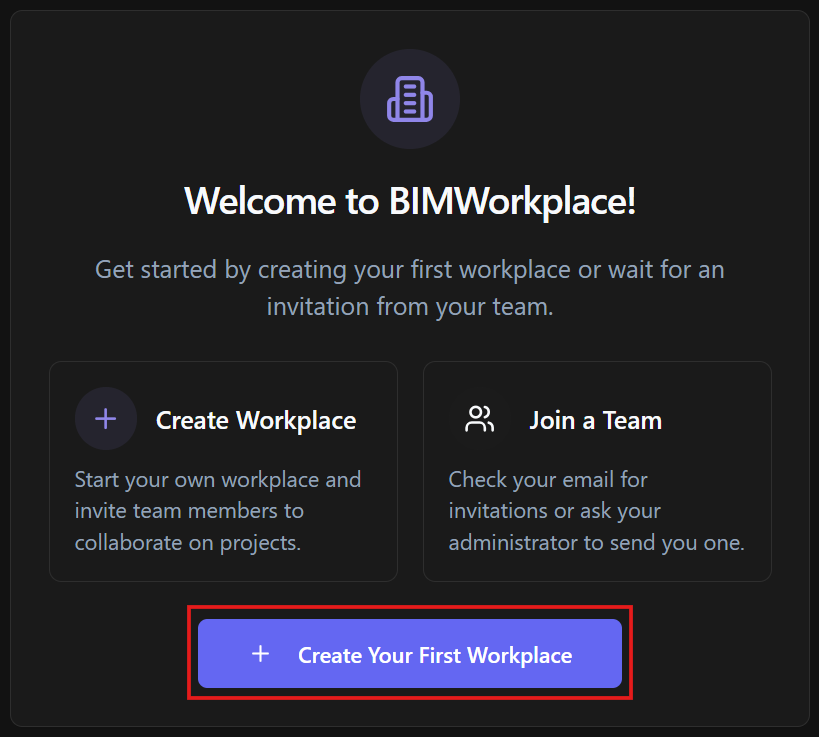
If you do not have access to any Workplace yet, BIMWorkplace will show a welcome page where you can create your first Workplace.
From this page, click Create Your First Workplace to continue with the Workplace setup.
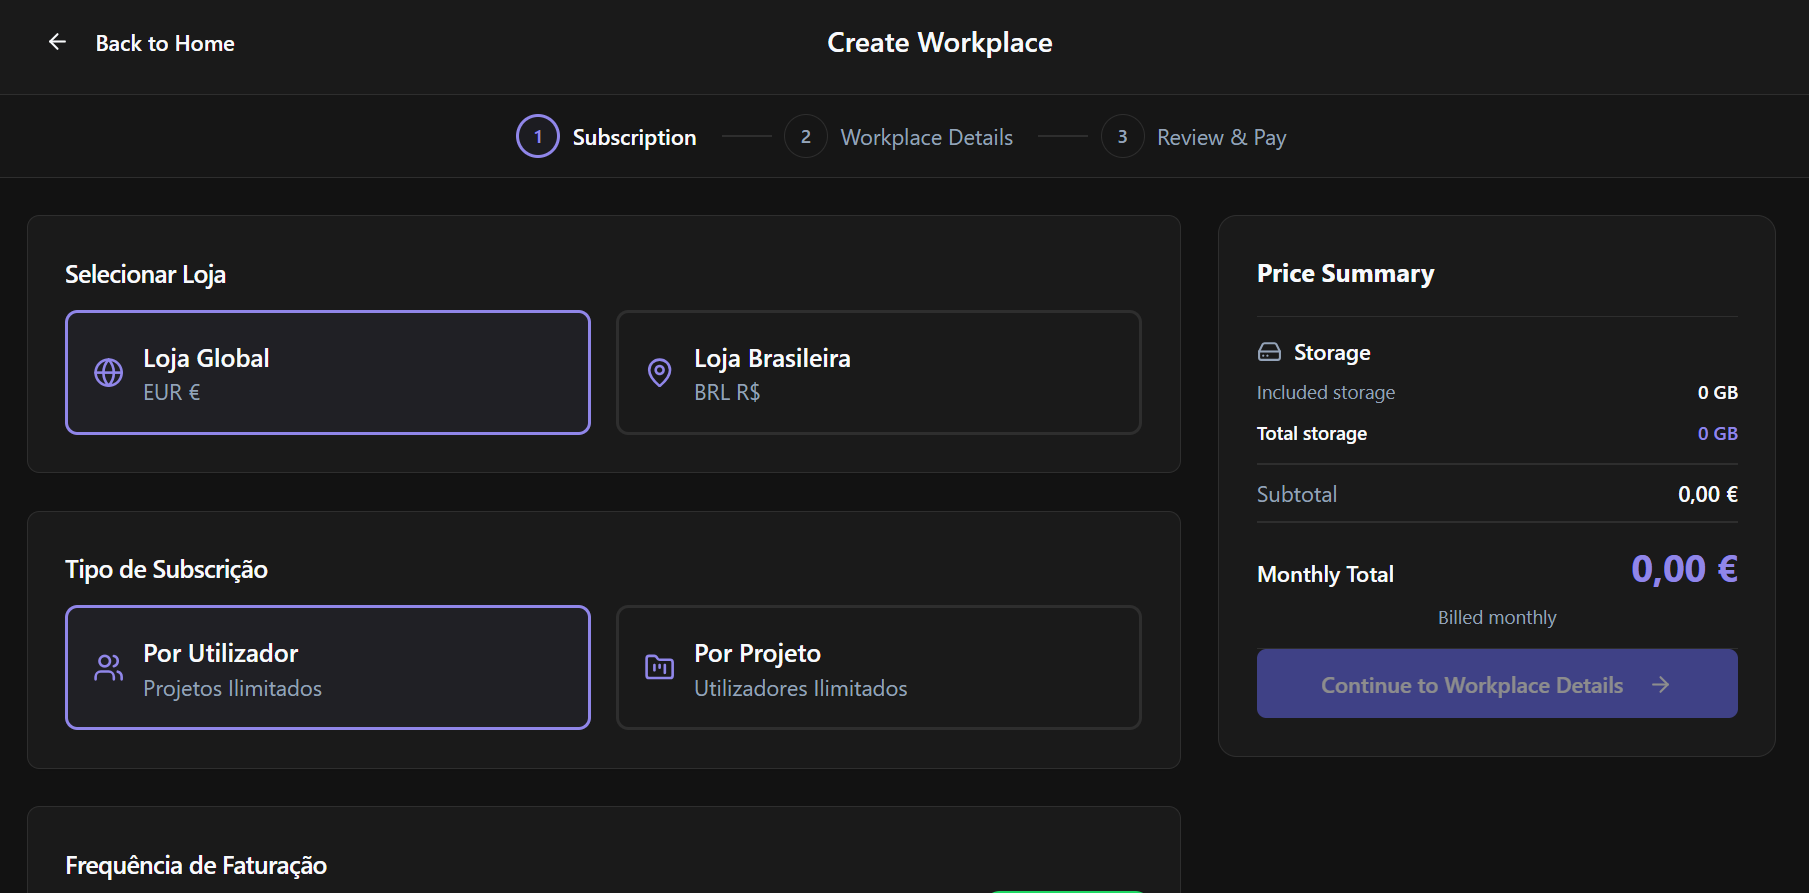
5. Choose Workplace modules
You will be asked to choose the modules and plan configuration for your Workplace.
This page allows you to select the Workplace store, choose the modules you want to activate, define quantities, buy extra storage, initiate with a free trial and review the subscription before continuing.
This same subscription page is also available later inside Workplace Settings > Subscription, where authorized users can manage upgrades, module changes, and subscription adjustments.
For a detailed explanation of this page, see Managing Your Workplace Subscription.
6. Fill in Workplace information
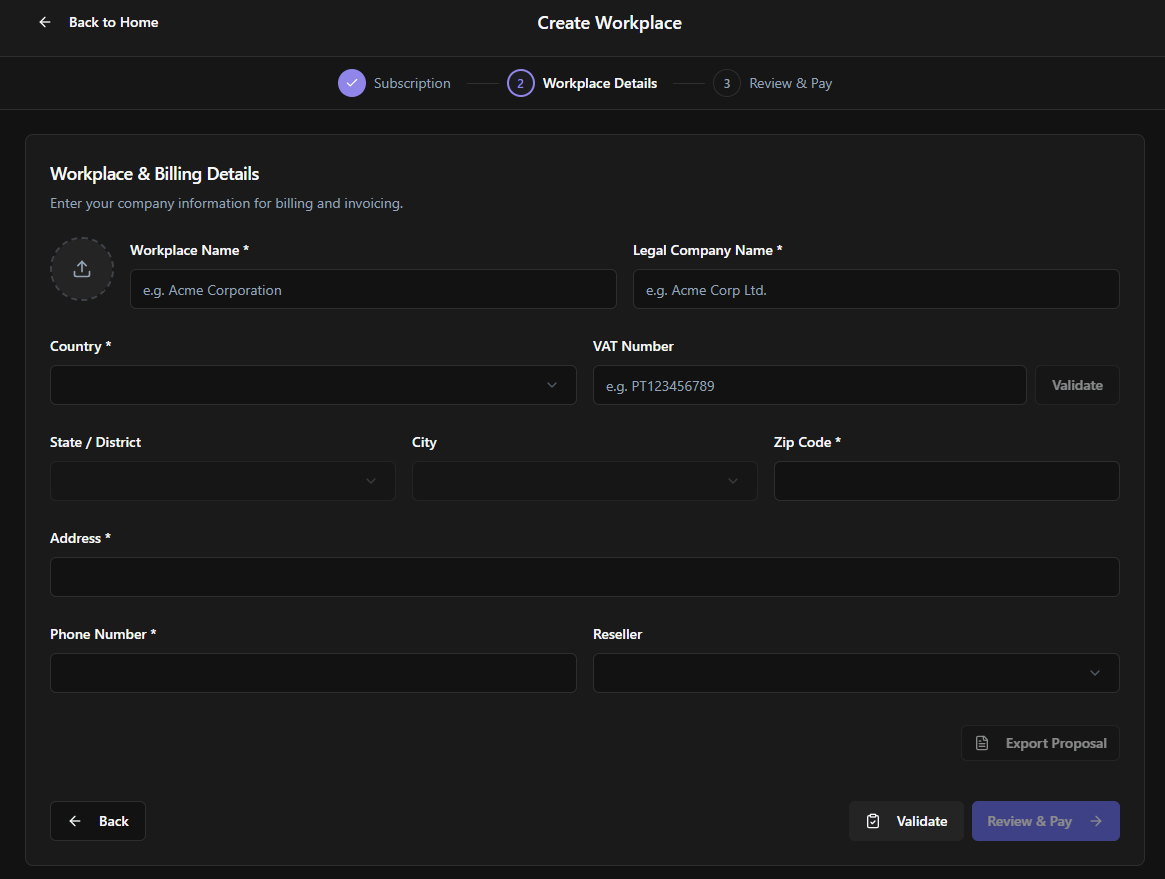
After choosing the Workplace modules and subscription configuration, fill in the required Workplace information.
This includes:
· Workplace name
· Legal Company Name
· Company details
This information can be edited later in Workplace Settings, if needed.
7. Review the summary
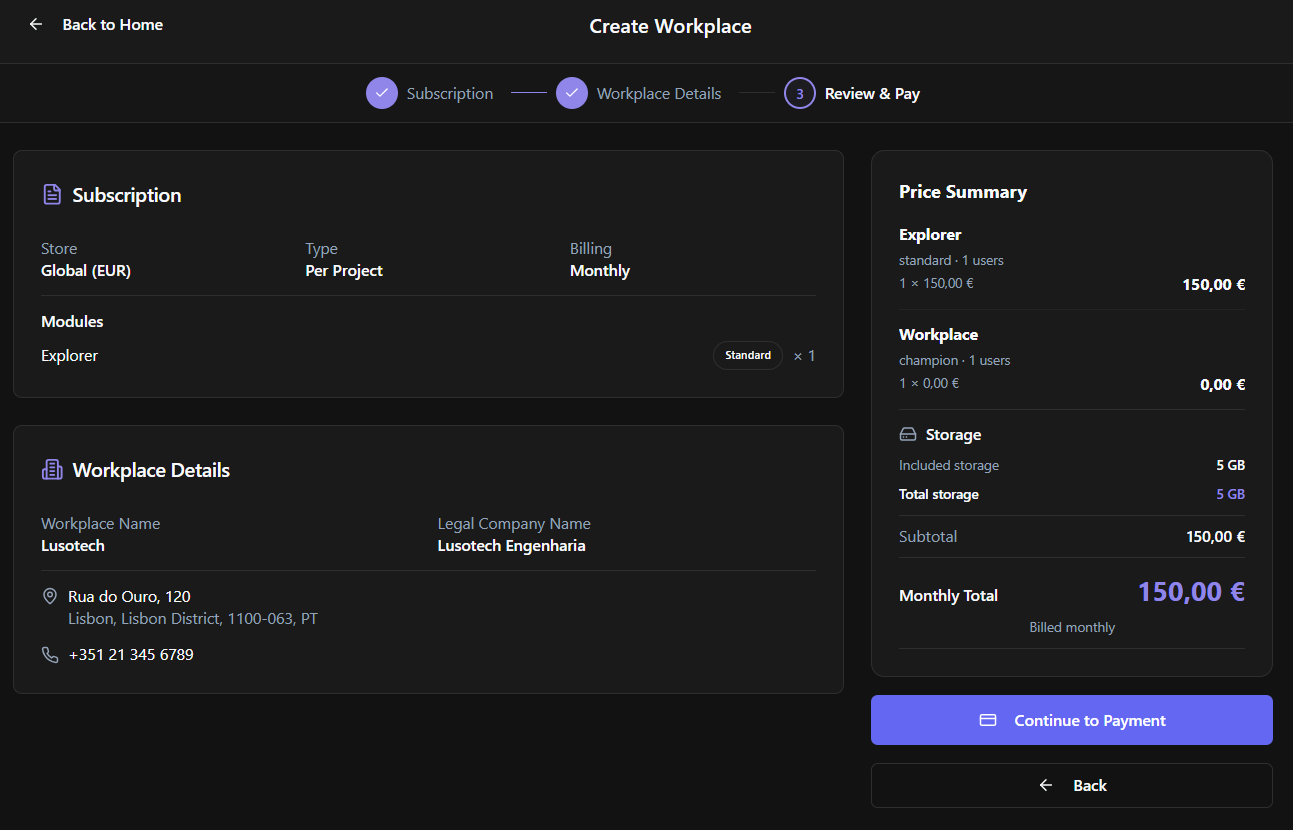
After filling in the Workplace information, you will be taken to a summary page.
Use this page to review that the Workplace information and selected modules are correct before continuing to payment.
Review the following information carefully:
· Subscription plan
· Selected modules and quantities
· Workplace details
· Total amount
· Promotion code, if applied
· 30-day trial, if applicable
If something is incorrect, go back and adjust the information before proceeding.
Once everything is correct, continue to payment.
8. Continue to payment
A new tab will open with Stripe, where you must fill in the payment details required to activate the subscription or trial.
The 30-day free trial is activated through the standard payment flow and requires billing information.
You can cancel before the next payment date if you do not want the subscription to continue after the trial period.
9. Finish setup
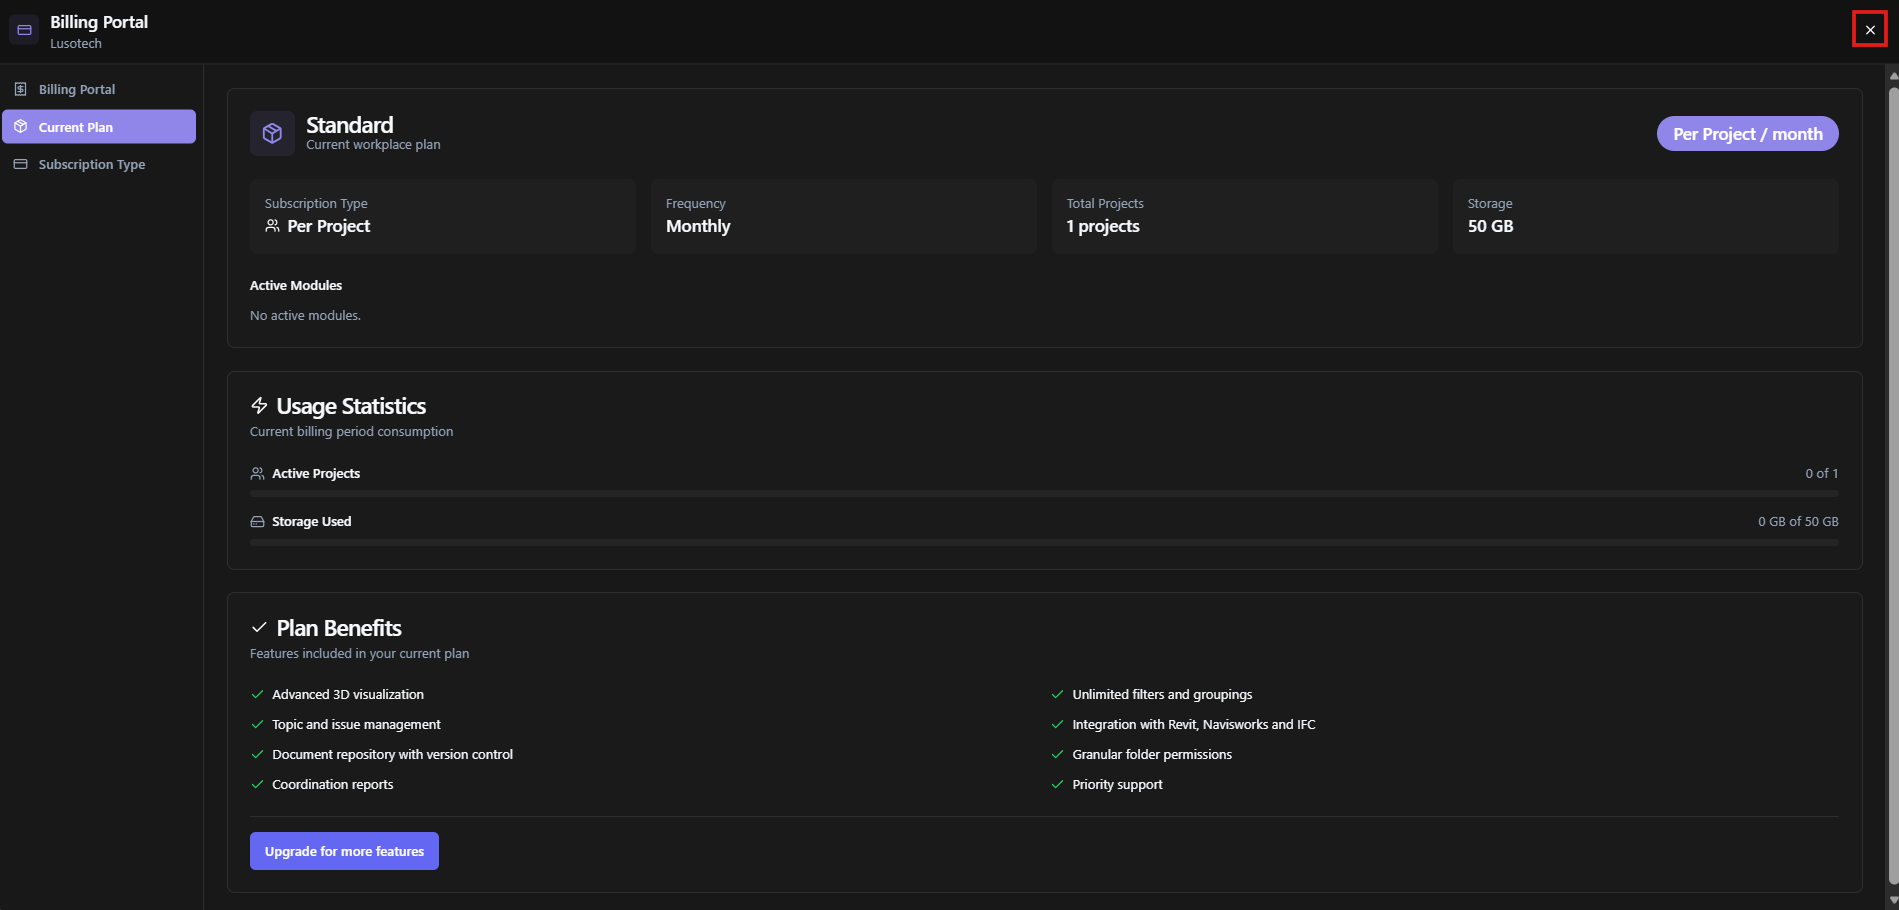
After completing the payment details in the Stripe tab, you will be redirected back to BIMWorkplace.
A final summary page will be displayed, showing the completed setup information.
To close this page and start using the platform, click the X button in the top-right corner.
You can then begin working inside your Workplace.
Was this article helpful?