This space is where the models will be organized and uploaded for federation in the viewer. These models can be arranged in a folder structure.
- 1. Click the first button in the sidebar on the right, assign a name for the new folder, and click New Folder to confirm.
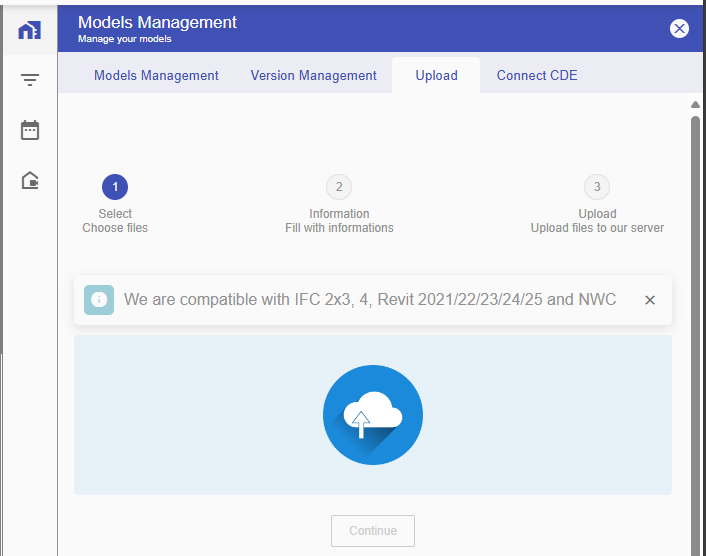
- 2. To upload files directly in the Browser, activate the Upload tab.
- 3. In the Uploads tab, either drag your model file in or click on the cloud icon to select it from your computer.
Supported Formats Reminder: BIMWorkplace is compatible with models in IFC 2×3 and 4 formats, as well as RVT formats from 2019 to 2025.

- 4. After selecting the file, click Continue.
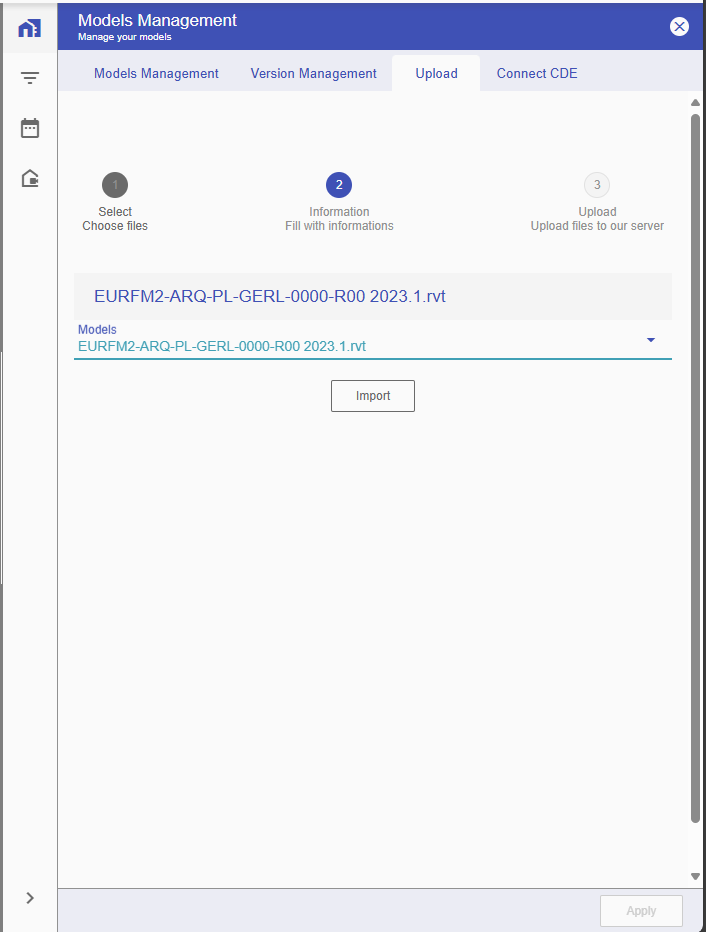
- 5. When you add your model to the upload environment, it will undergo a validation process for storage location. At this step, complete the 2-Information section with the required details.

- 6. In the Models field, select either New Model or, if this is a new version of an existing model, specify the model it refers to.
- 7. Once you’ve chosen how to store the model upload, click Import.

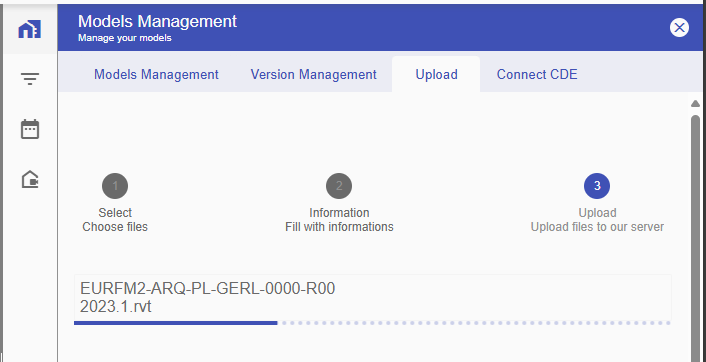
Once the upload is complete, go to the Version Management tab to monitor the upload process.
- 8. In the Version Management tab, select the uploaded model in the Manager and click Activate Version to activate the model in Models Management.
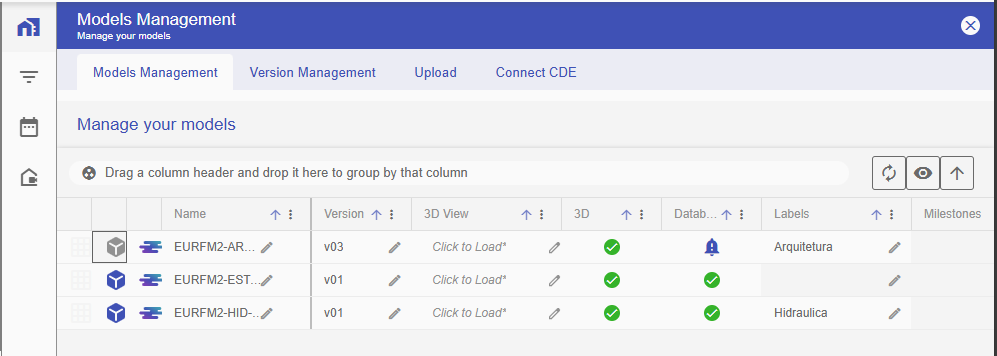
- 9. In the Models Management tab, click the icon to load the model version in the 3D view.
