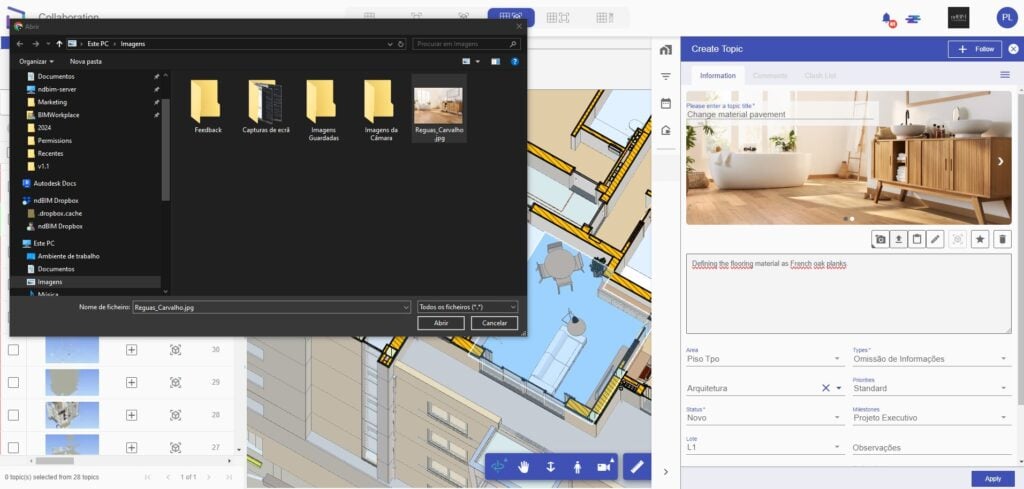
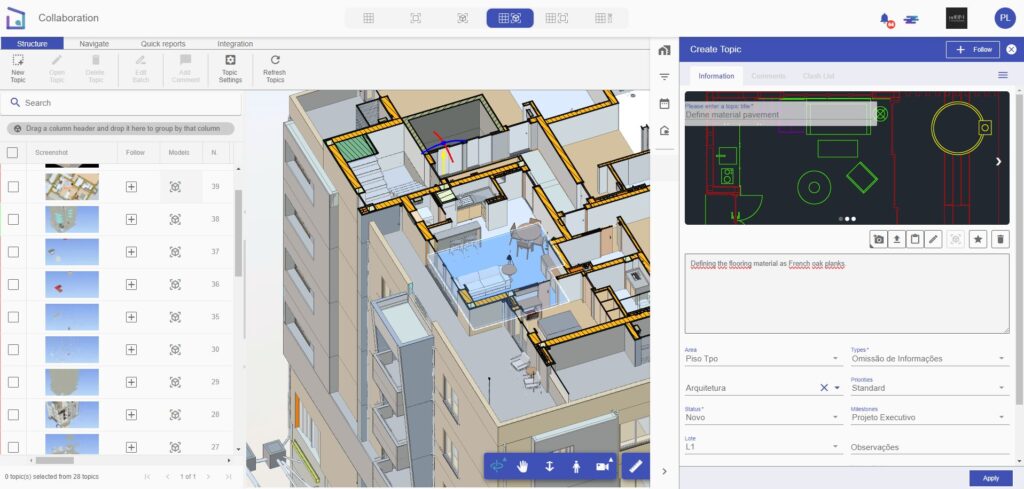
The images assigned to the topics can better represent the reported situation and even facilitate the understanding of the subject. For this, BIMWorkplace has three ways to add images.
In addition to the different shapes, multiple images can also be added depending on your company’s subscription plan.


So, whenever a member of your team goes to analyze the issue, they will be able to quickly find where the context of the topic applies. There are three ways to save these images:
1 – Whole model: this is the fastest method of capturing the viewpoint: It is method records the active models, however it does not consider selected, hidden, isolated elements neither applied filters.
2 – Visible/Hidden elements: his is the second fastest way to capture a viewpoint of the model. In this way, camera location, the hidden and isolated elements will be saved, however they are not considered the filters applied at the time of viewpoint capture.
3 – Visible/Hidden elements + Filter Options: this is the most complete option, which may cost a little more time to generate the viewpoint. However, this condition records all actions performed around the model (hidden, isolated, selected elements and filters). This way, you can be sure that everything you see at the moment of capturing the viewpoint is what will be seen when you go to the viewpoint.